|
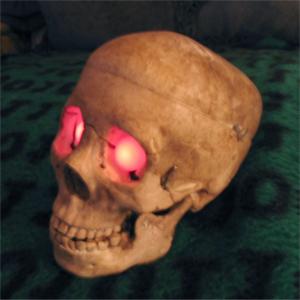 | |
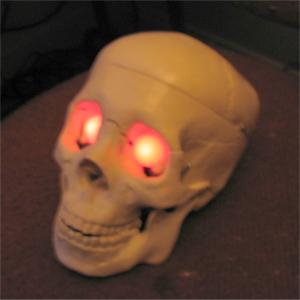
This year, I took a hint from Born2Haunt.com
and have made glowing eyes using hot-blue and LEDs. I've done simple LED
eyes before, but using a mold to shape some hot-glue is elegant, cheap,
and effective. |
2005 Prop Construction
This year I made my largest prop project to date. Since I
haven't made many at all prior to this, that's not saying much, and it's actually
a rather easy project. Most of my previous haunting exploits involved
combining various store-bought projects, as well as animating
otherwise static objects with pull-strings (but not this year!).
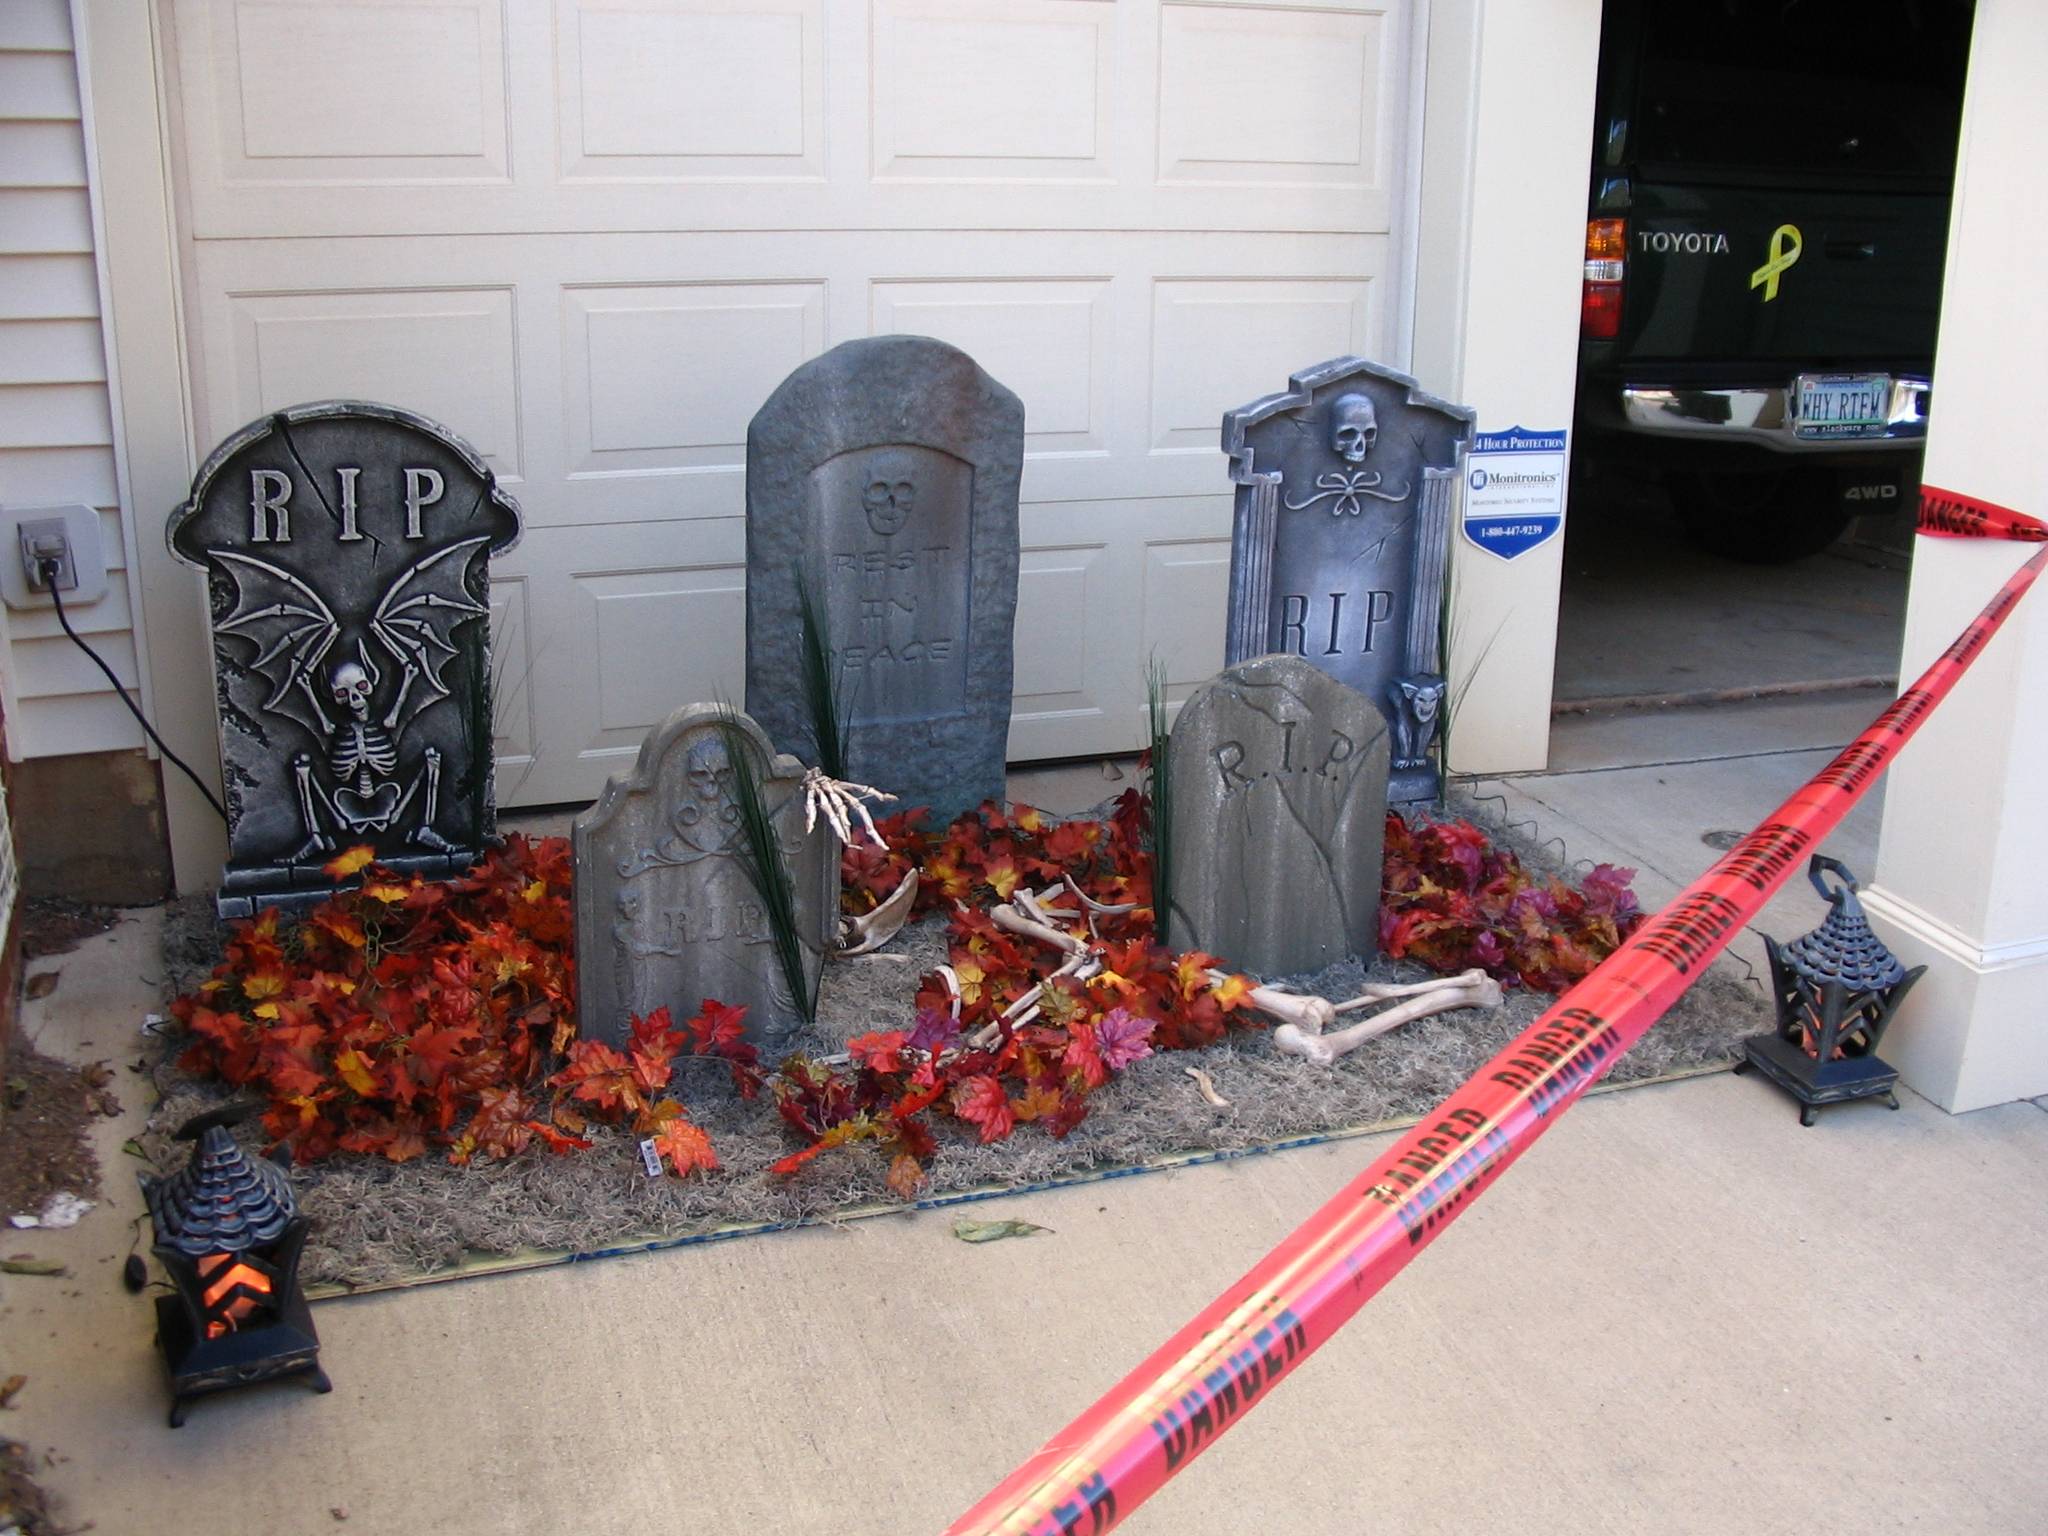
For years I've wanted to have a spooky graveyard, but since 2000
I've been living in a house with no yard. I have concrete driveway,
and that's about it. So this project is a grave-plot, complete with it's
own ground, that I can just drag into the garage and store (with the
headstones removed) fairly easily.
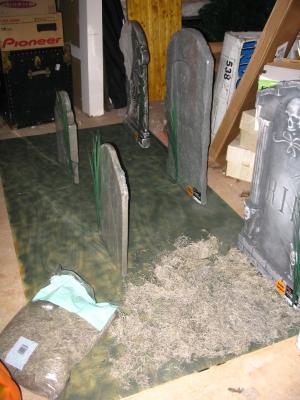
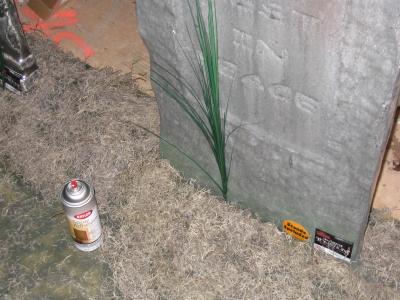
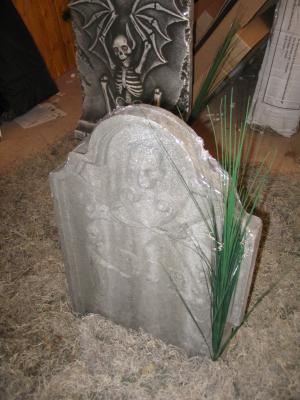
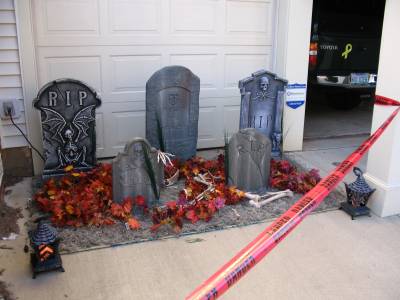
I used store-bought styrofoam gravestones to save time and effort.
I'll make my own in the future, though these stones look pretty good.
The rear row has 3-foot tall stones. During the construction they stayed
in their original shrink-wrap plastic, to protect them during the
project. The wrap finally came off a few days before Halloween.
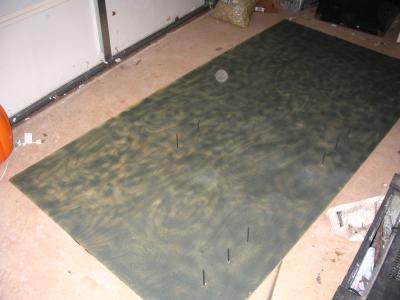
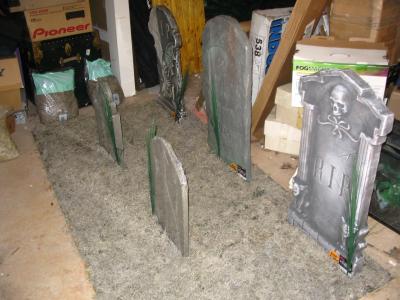
In a nutshell, I started with an 8x4 sheet of plywood, and painted it
in a mottled pattern with speckled green paint. Then, I hammered 4"
nails through from the backside to insert into the foam grave stones.
I hot-glued some artificial grass sprouts near the stones. Then,
using spray-adhesive, I covered the surface of the plywood with
spanish moss, to simulate dried-up grass. I intentionally made the
moss very thin immediately behind the smaller stones, to make it
easier to place other props and/or lighting there. After primary construction,
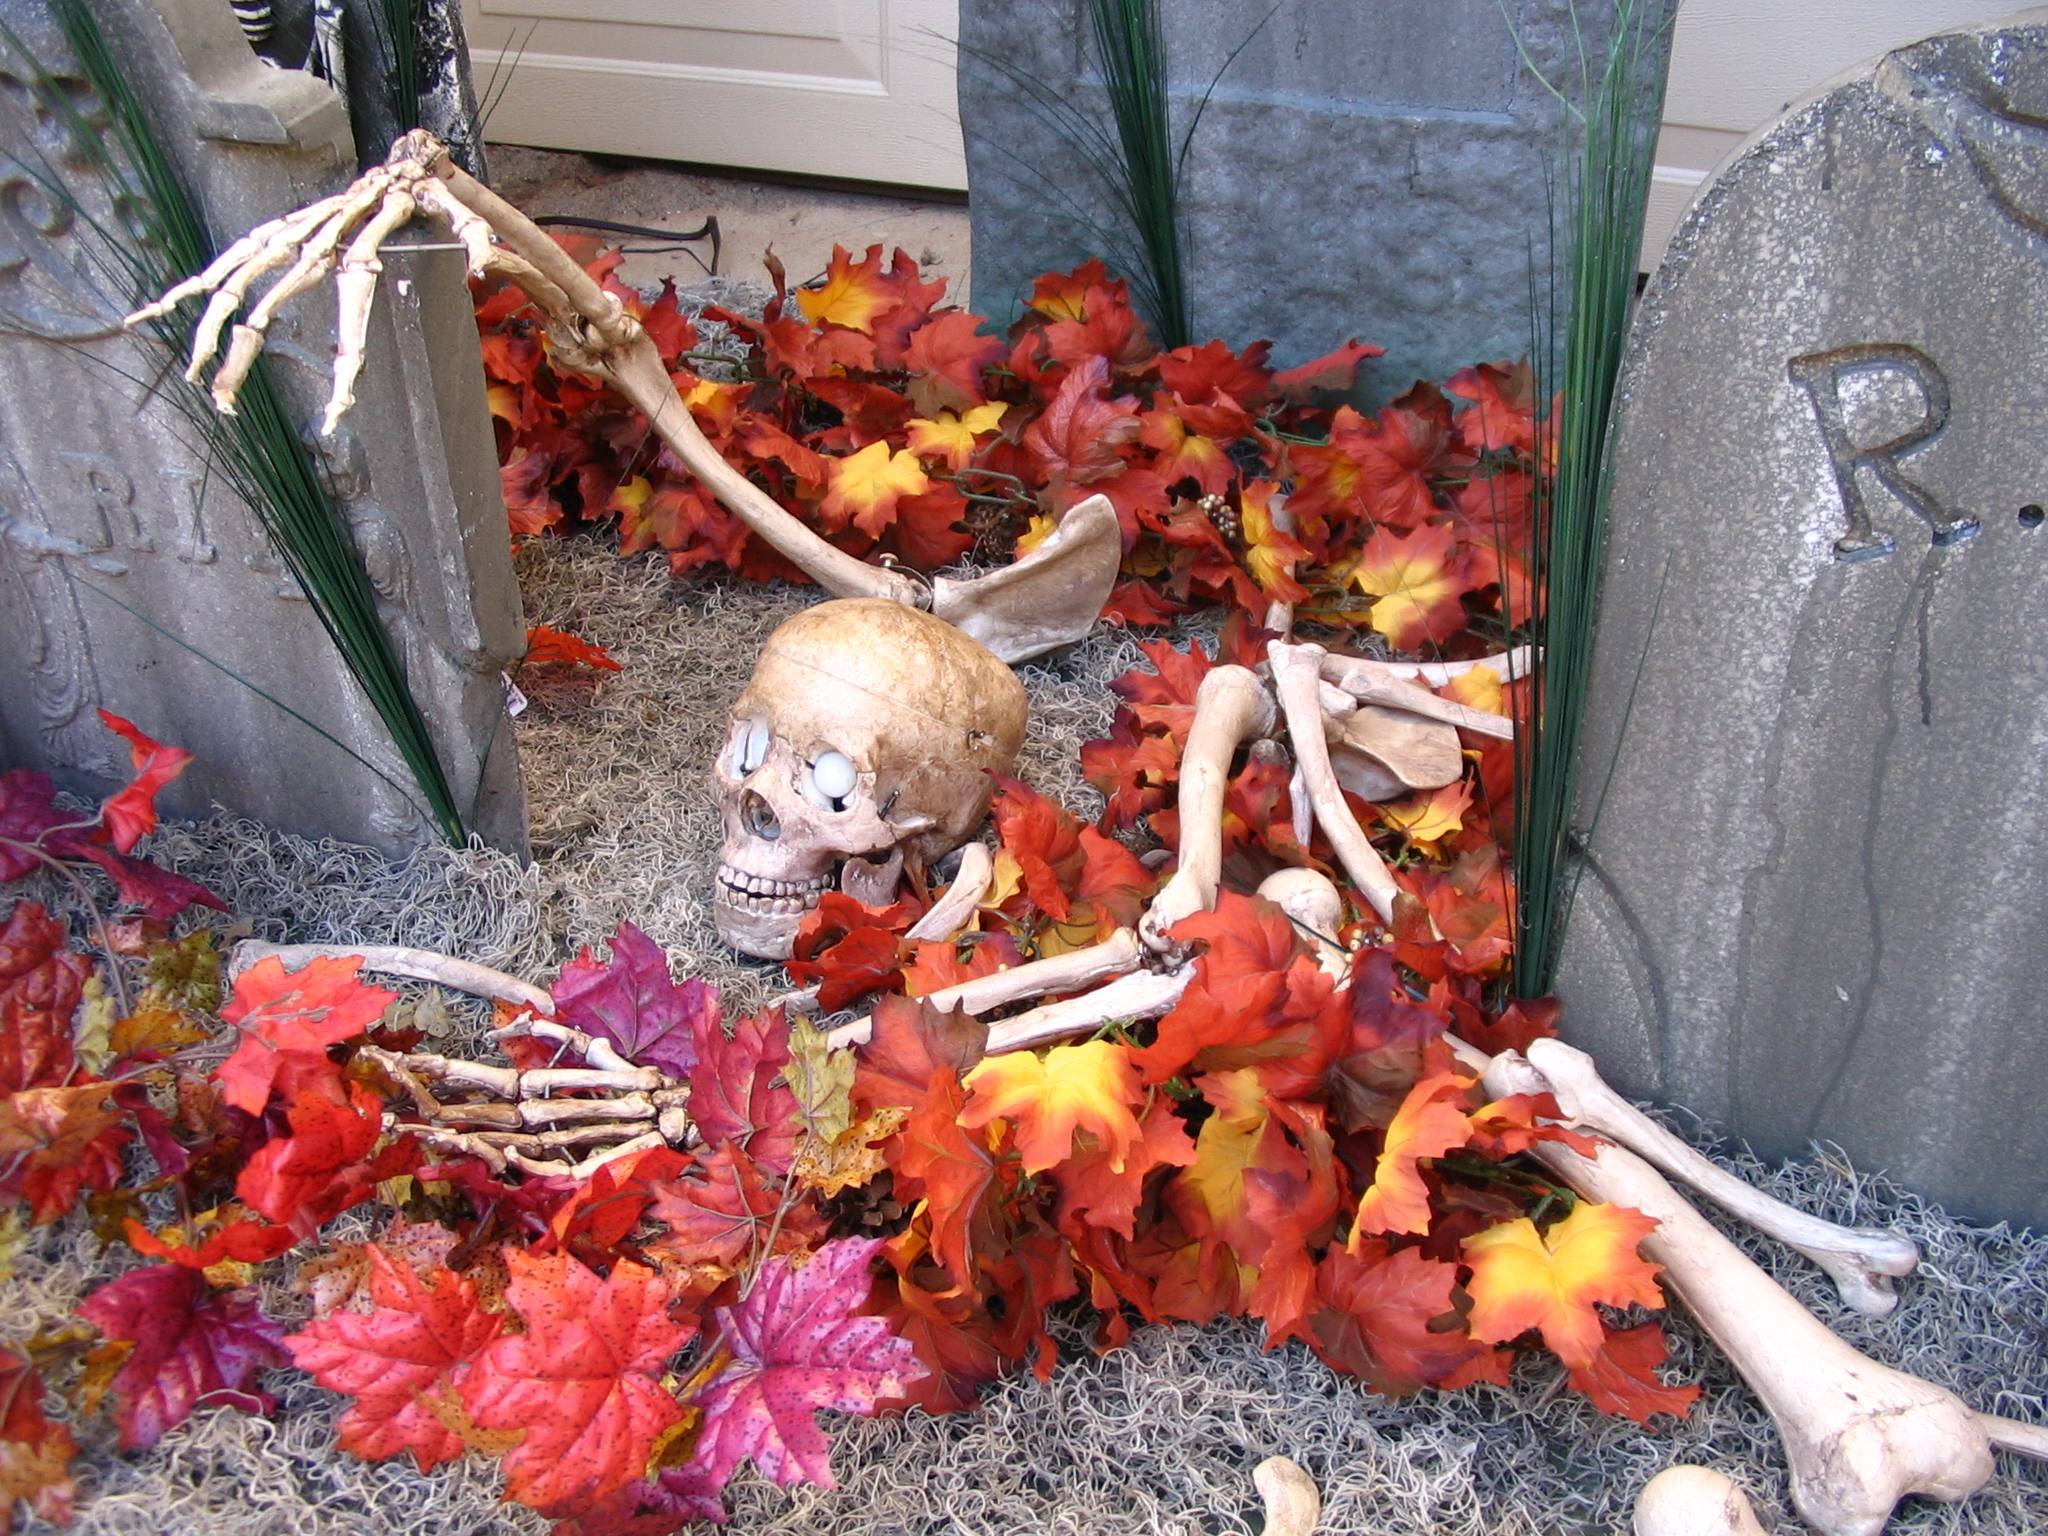
I added artificial fallen leaves, and some bucky skeleton
components (details on the skeletons follow the grave pictures).
Below are pictures of the grave plot construction process:
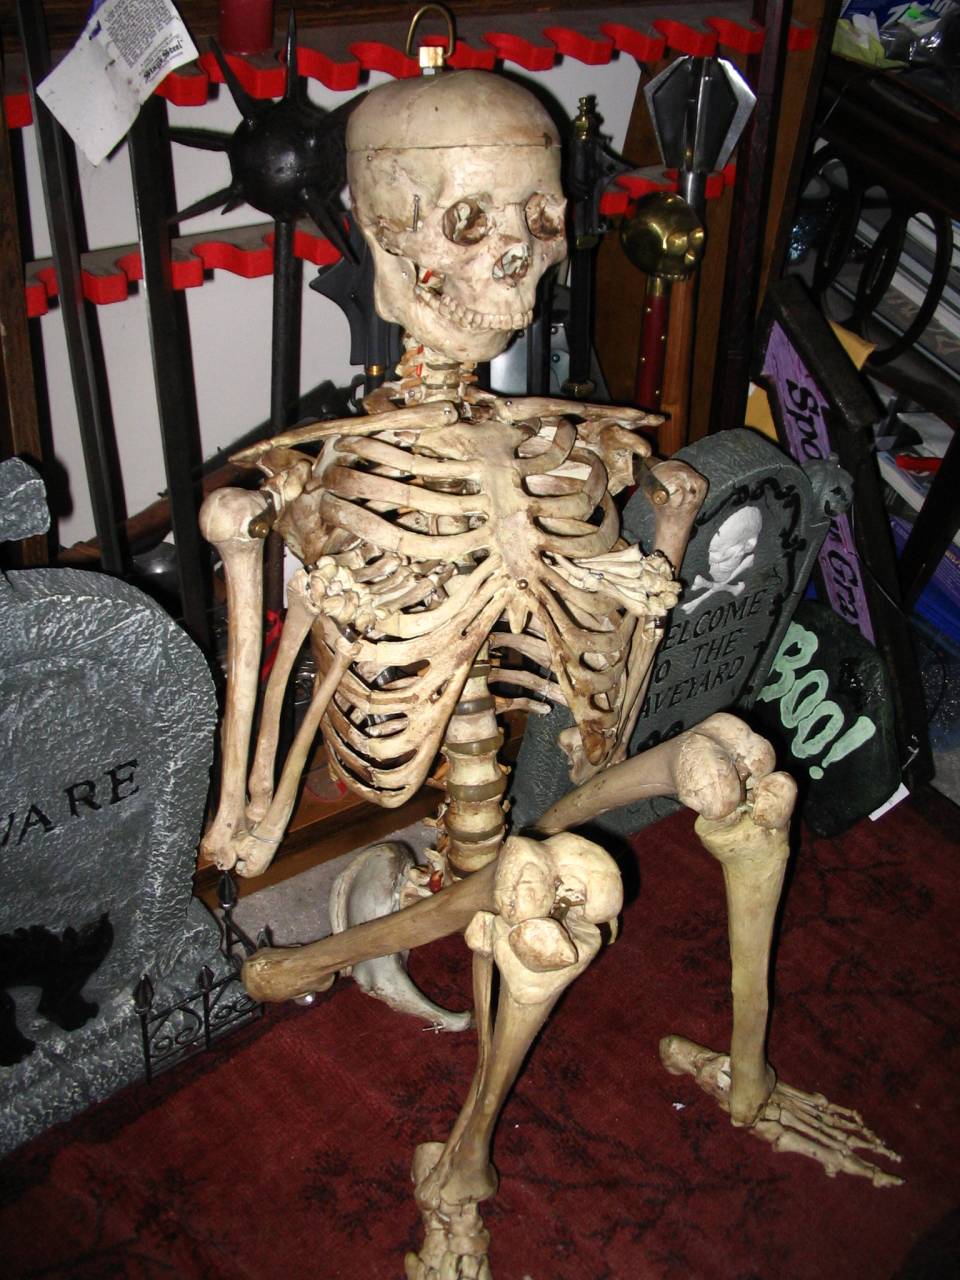
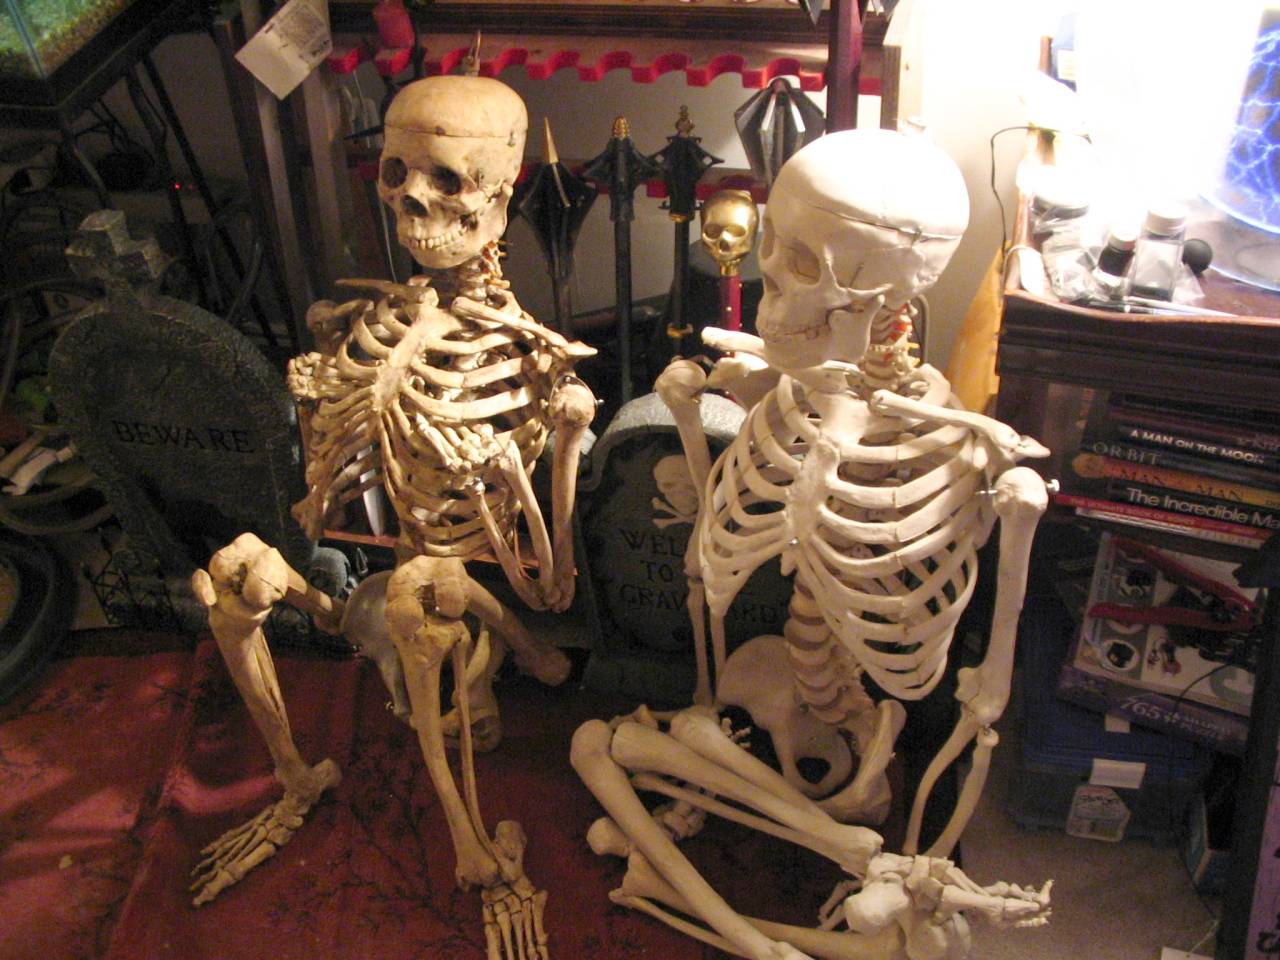
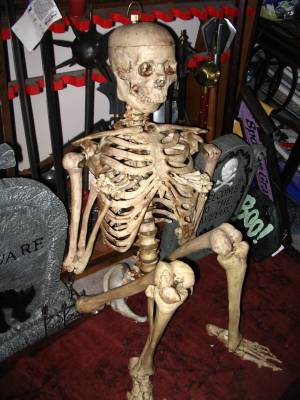
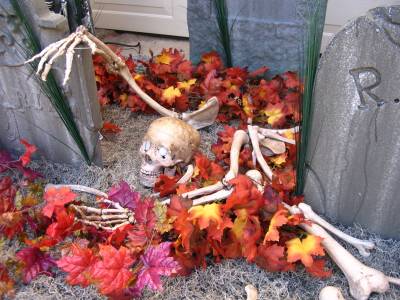
Skeletons
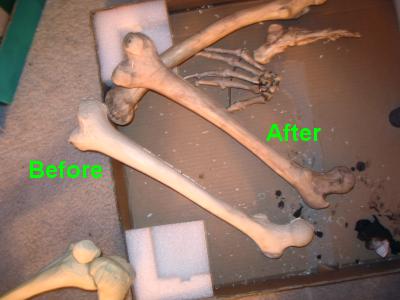
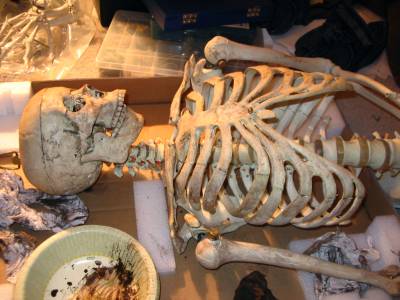
The skeleton parts are various 4th quality components, and have been aged
using a "wash" of Burnt Umber acrylic paint. The wash was done with
approximately 1 part paint, 2 parts water (I think... I was eye-balling it),
applied generously with a paper towel, and then wiped down with a dry paper
towel. Some of the paintbrushes I attempted to use were making a mess, and the
paper towels gave me a more even application, surprisingly. The foam-brushes
were the biggest trouble-makers. A regular bristle-type paintbrush was handy
for getting into some of the hard-to-reach places, but the paper-towels worked
best on exposed areas, and large surfaces. After wiping off nearly all of the
very liquidy paint, what is left is a slight stain that is darker in the
cracks and pits, and very light on the more exposed areas. This is why such
a dark color paint works so well, and still results in an overall light coloration
when complete.
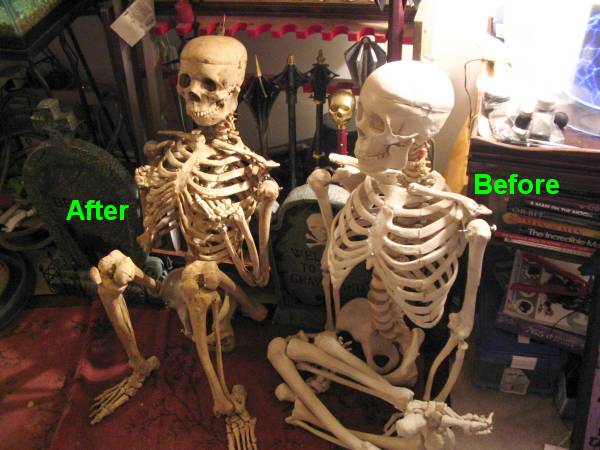
The aging looks better in person than the pictures below can show. The
"Before/After" picture with two femurs doesn't do the differences
justice. The two shots of the skull with the glowing eyes gives somewhat
more accurate representation of how this is turning out. The appearance
really is changing from "flat-white plastic" to "mildly dirty bone". :)
Poor Herb... Between his two left arms, his jaw that doesn't fit right,
a pelvis that doesn't stay in place and is partially discolored, and now
a missing kneecap (due to cat-related theft), he's quite beside himself.
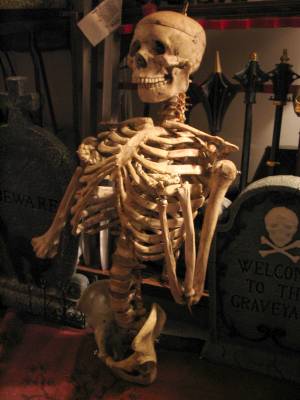
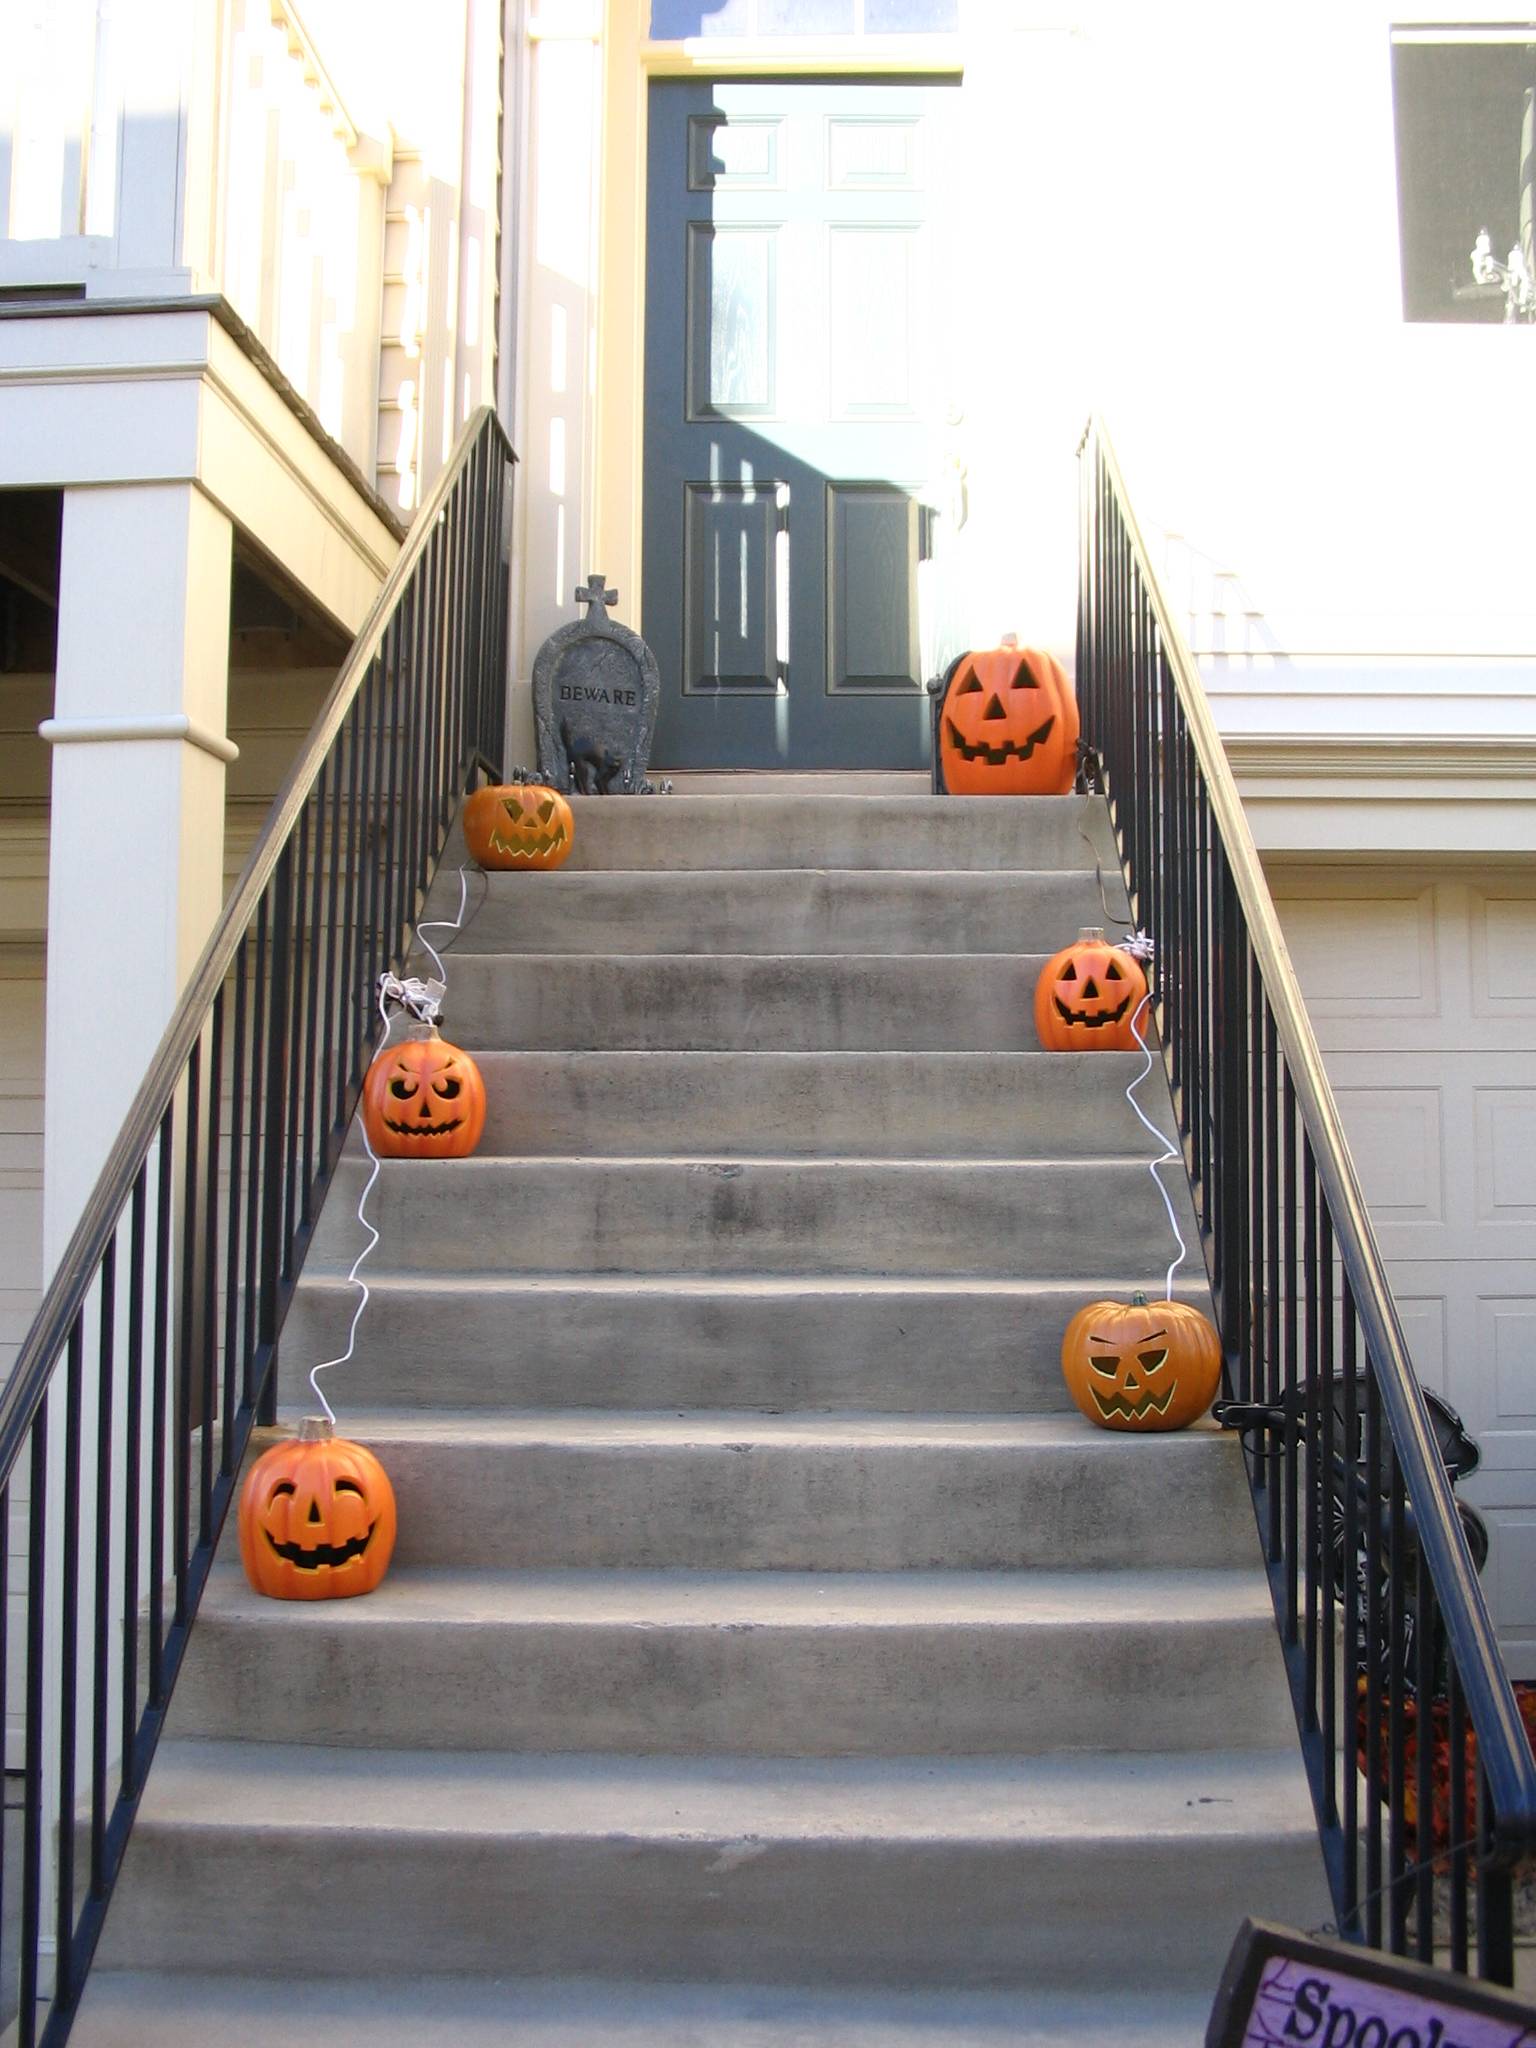
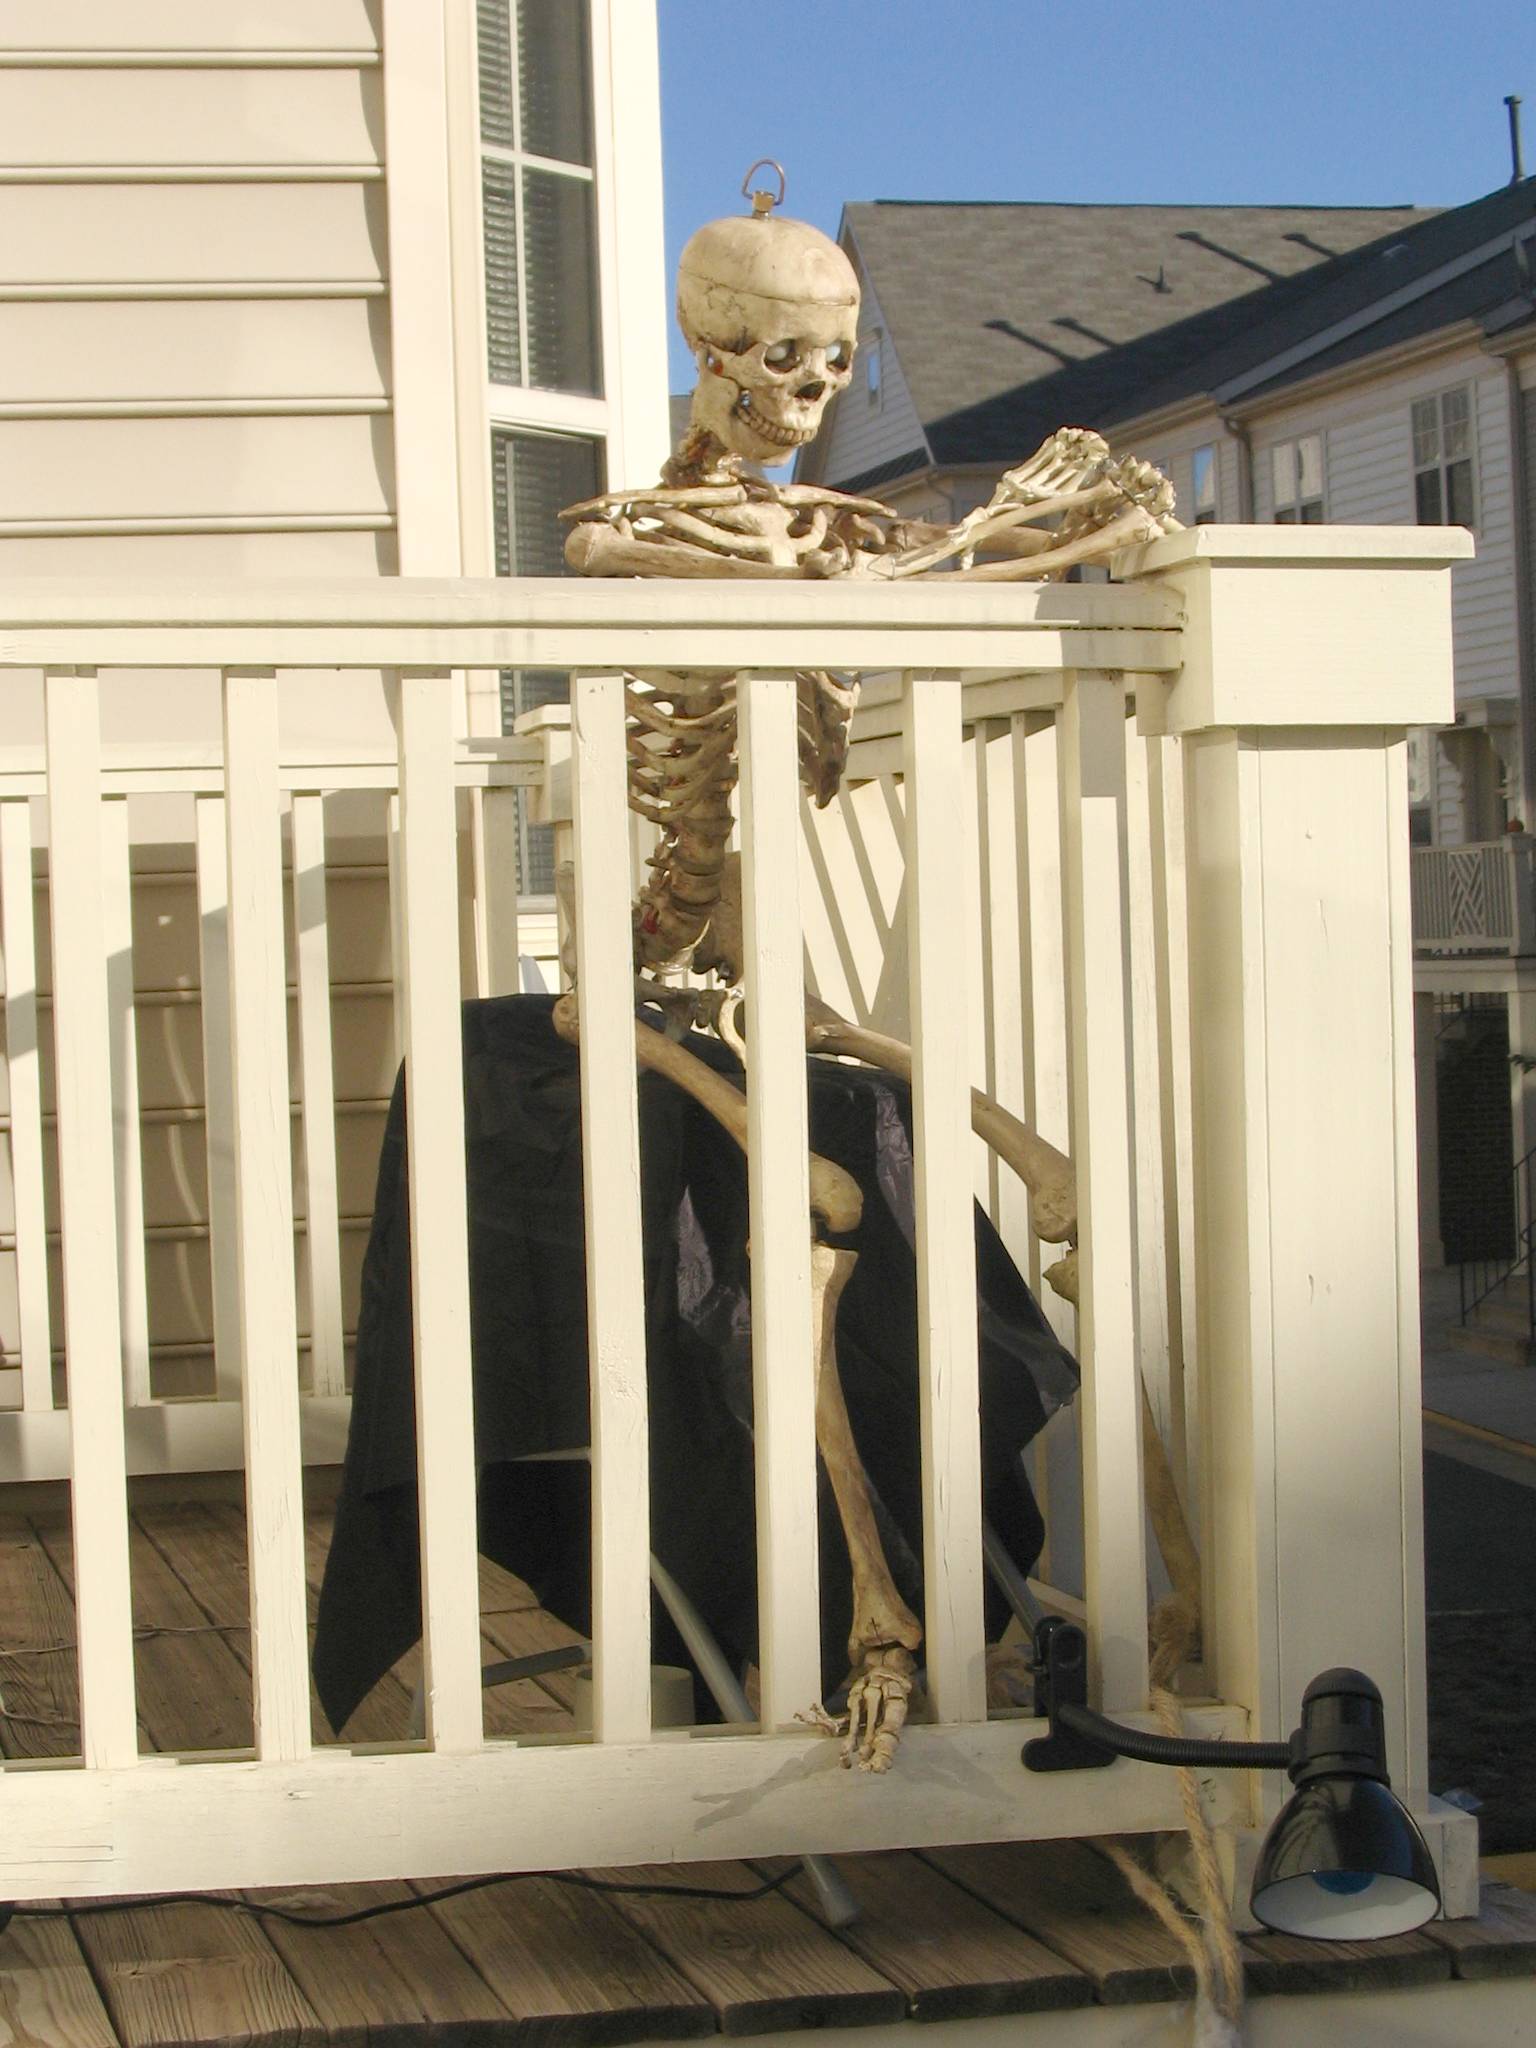
And here are some daytime pictures from during the initial setup:

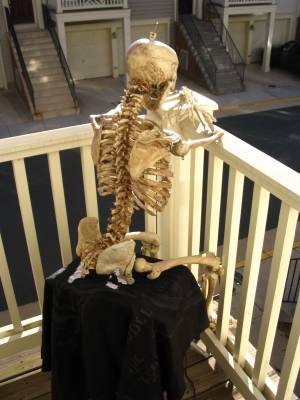

|